What you’ll learn on the practical training days of the Competency Training?
1.To demonstrate adequate knowledge on:
- Relevant anatomy and physiology, site selection-including contraindications and how to select an appropriate vein
- Consent, mental capacity and patient information giving
- Side effects and complications
- How to deal with complications- fainting, arterial and nerve puncture
- Infection control
- Sharp safety and what to do in the event of needlestick injury
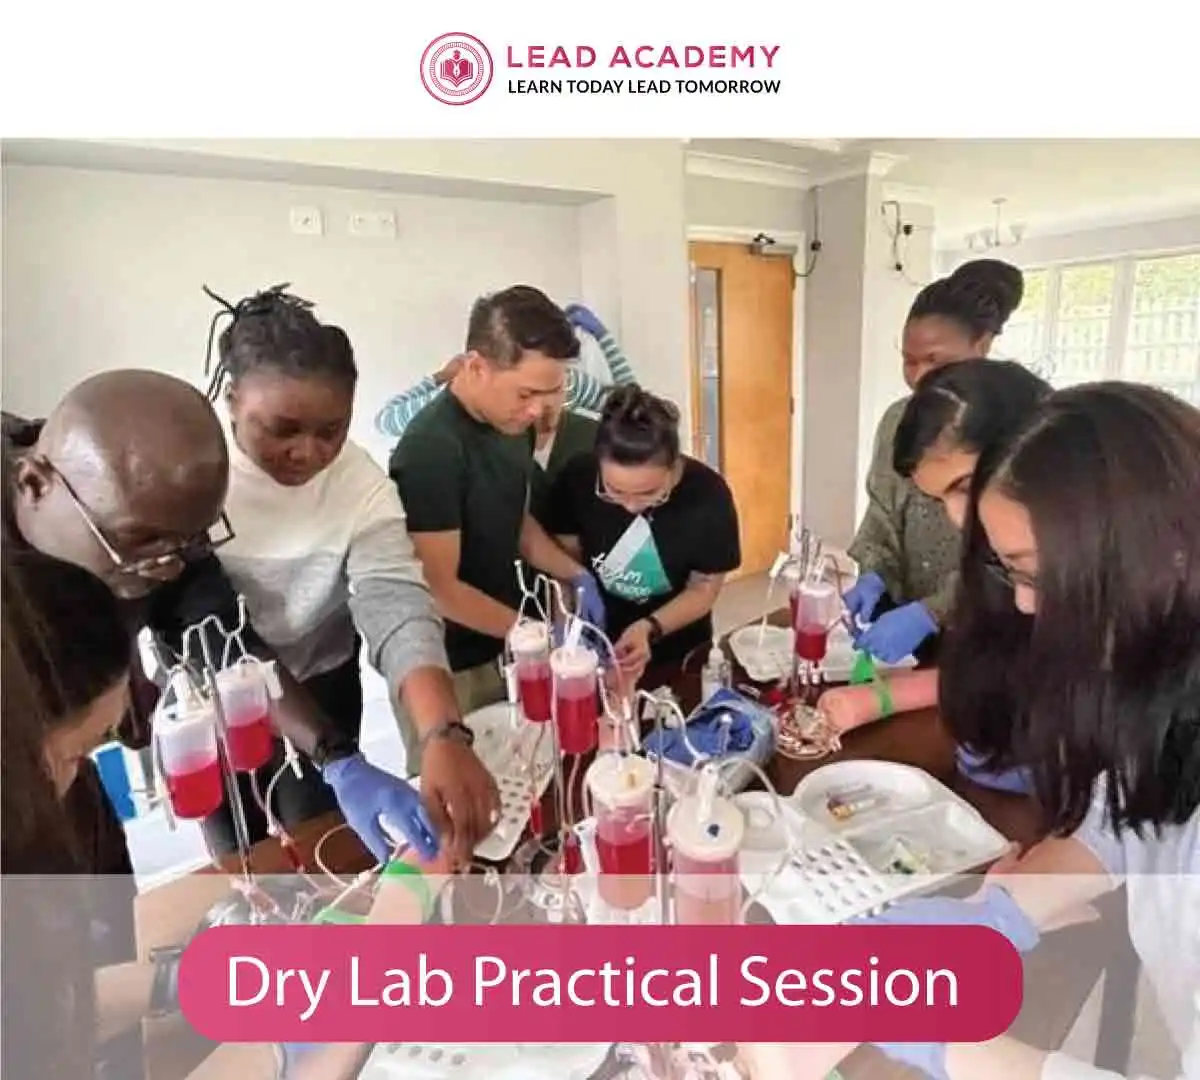
2. To demonstrate how to prepare the single use equipment for venepuncture
- Choose appropriate venepuncture equipment for patient needs.
- Assemble appropriate equipment on a clean try i.e. vacutainer and needle attachment, butterfly, sharps bin, tourniquet, gloves, blood bottles, skin cleaning prep, cotton wool and adhesive tape.
3. Learn how to prepare a patient for venepuncture
- Explanation of the procedure in simple terms and position the patient comfortably
- Explanation of the reason and purpose for the blood test
- Obtain informed consent
- Check for any known allergies
- Checks the identity of the patient
4. Learn how the practitioner should prepare for the procedure
- Hand washing technique
- Wear clean gloves
- Ensure adequate lighting and posture of the patient and self
5. How to select appropriate vein for venepuncture
- Apply tourniquet 5-10cms from the intended puncture site applying enough pressure to obstruct venous but not arterial flow
- Encourage venous filling by: ask patient to open and close fist, lower arm below the level of the heart, massage site, apply warm compress (if necessary)
- Palpates the vein.
6. To demonstrate the preparation of the puncture site
- How to ensure the area is clean and dry.
- Using 2% chlorhexidine gluconate in 70% isopropyl alcohol to clean the skin around the entry site for 30 seconds
7.To demonstrate how the venepuncture equipment is appropriately assembled for use
and how it should be handled.
- Ensure package and contents are intact
- Check expiry date
- Fold down wing of butterfly if used
- Check bevel of needle is uppermost
- Ensure the needle is not contaminated before use
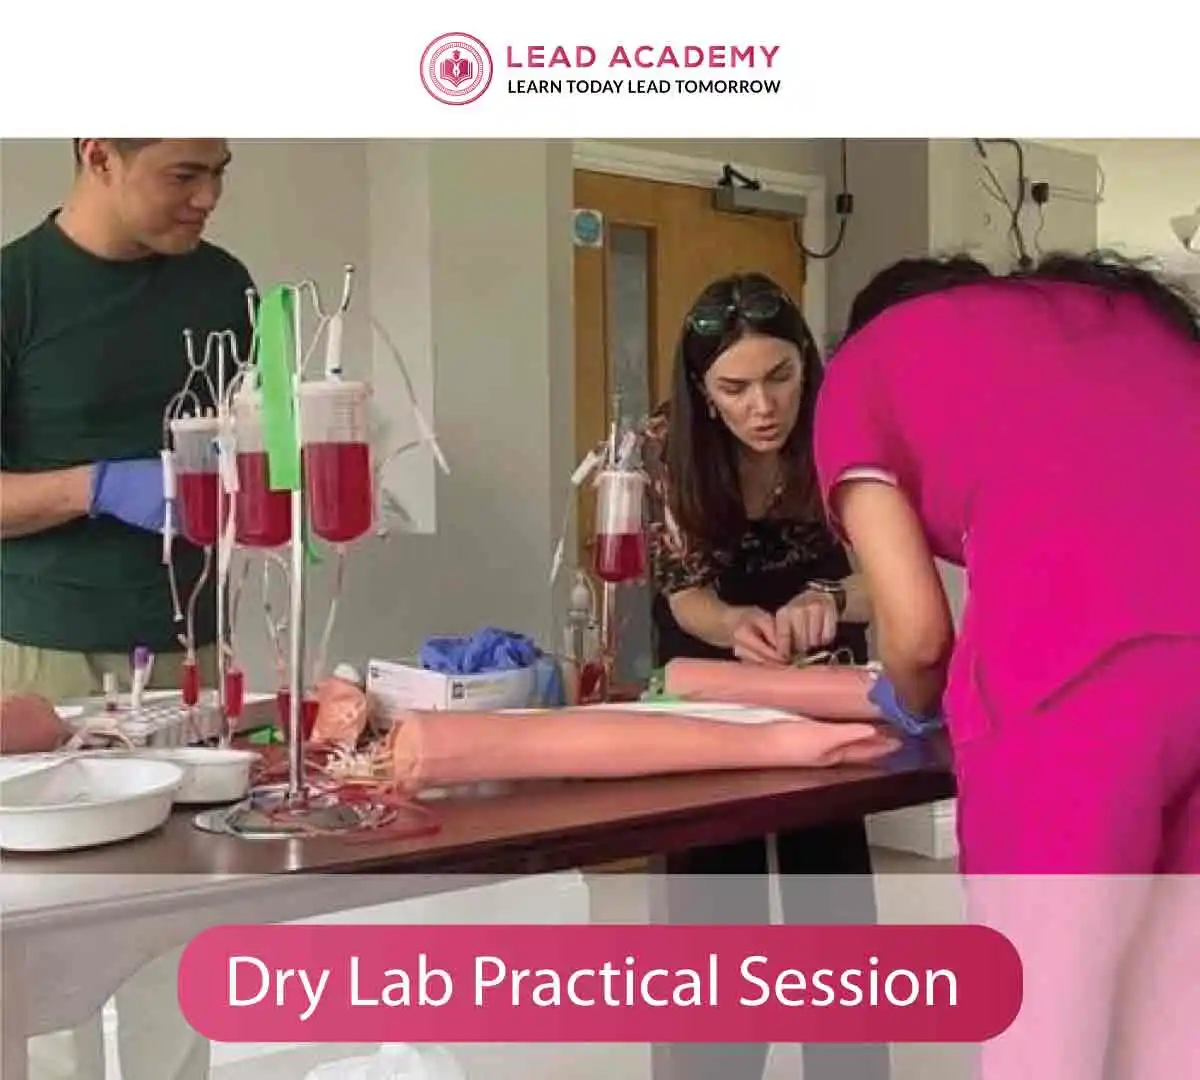
8. To demonstrate needle insertion
- Immobilise limb and apply traction to skin in order to anchor vein
- With bevel uppermost insert needle at an angle of 30 degrees (depending on depth of vein)
- Avoid touch contamination of the insertion site and aseptic non touch technique
- Attach the blood bottle to vacutainer to obtain blood sample, in the correct order of draw
- Once all samples are collected release the tourniquet and cover needle site with cotton wool.
- Apply pressure once the needle is withdrawn for 30-60 seconds to prevent bruising.
- Check the site (if clotted, apply tape over cotton wool)
9. To demonstrate sharps disposal
- How to be able to engage safety mechanism if present
- How to dispose of sharps immediately into appropriate sized sharps bin
10. To demonstrate the correct handling of blood sample bottles
11. Learn to demonstrate correct disposal & decontamination of equipment
- Demonstrate correct disposal of equipment
- Demonstrate safe clearing of blood collection tray
- Demonstrate correct decontamination of hands following procedure


 62% OFF
 Accredited Certificate Included
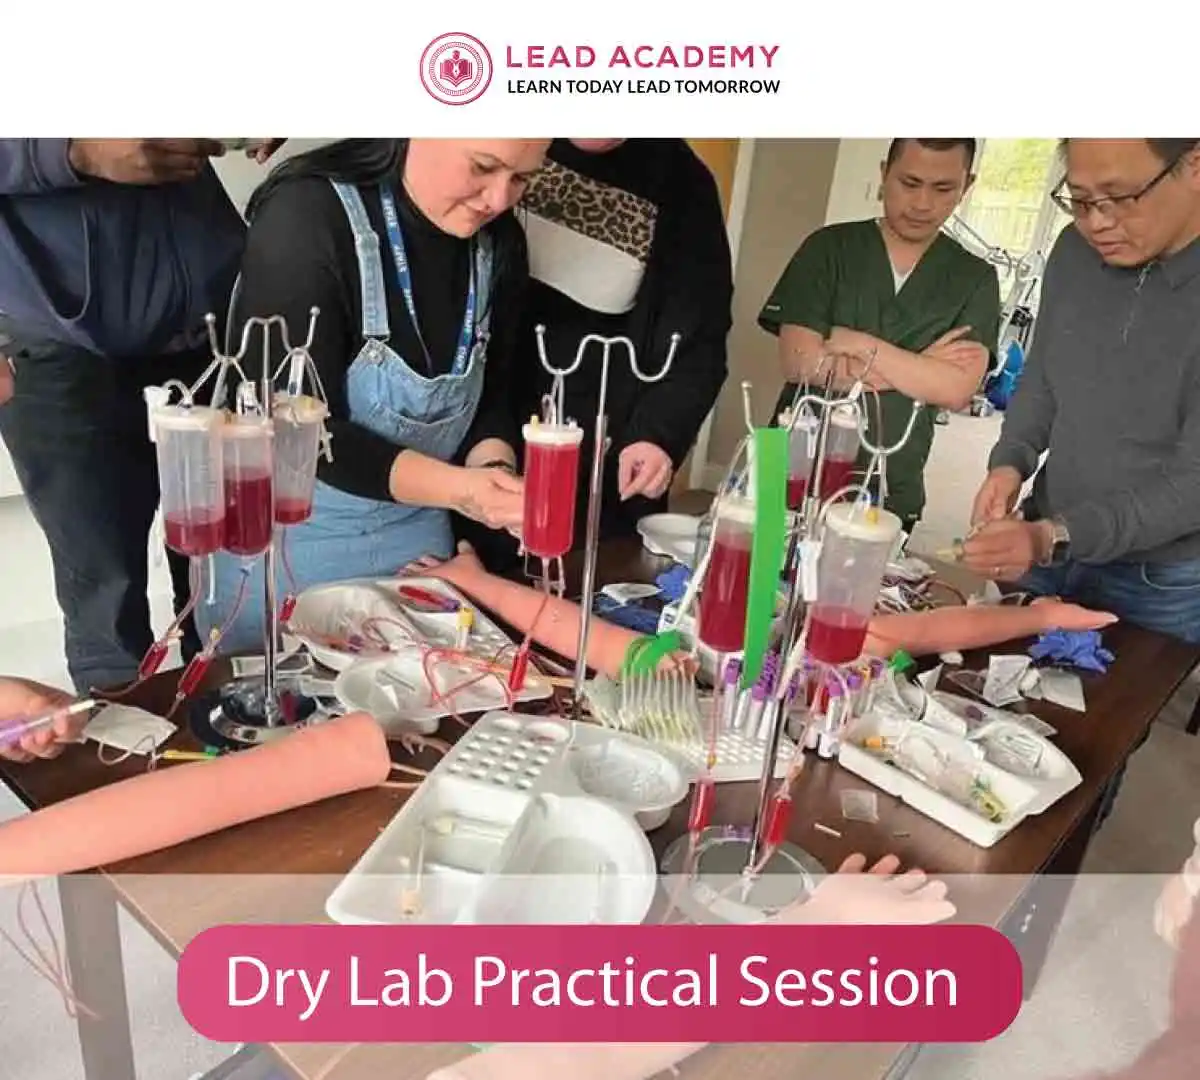

 You will receive a competency certificate after successfully completing the Part 2 of the phlebotomy course, which serves as confirmation that you are qualified to function as a phlebotomist without the need for close supervision.


